
I have watched a gluten free guest stare at a holiday table like it was a minefield, and it is not a fun thing to witness.
This gluten free stuffing recipe fixes that problem with toasted bread cubes, buttery veggies, and a splash of white wine. IMO, it tastes just like the stuffing you grew up with, minus the gluten. Nobody at your table will notice the swap.
- Why This Gluten Free Stuffing Works
- Ingredients for Gluten Free Stuffing
- How to Make Gluten Free Stuffing
- Step 1: Preheat the Oven and Prep Your Pan
- Step 2: Melt the Butter
- Step 3: Sweat the Shallots, Onions, and Celery
- Step 4: Add the Garlic Last
- Step 5: Season with Sage, Thyme, Salt, and Pepper
- Step 6: Reduce the Wine by Half
- Step 7: Combine with the Bread and Broth
- Step 8: Bake Until Golden Brown
- Pro Tips for the Best Gluten Free Stuffing
- Serving Ideas for Gluten Free Stuffing
- Gluten Free Stuffing FAQ
- Can I make gluten free stuffing ahead of time?
- What bread works best?
- How do I store and reheat leftovers?
- Can I leave out the wine?
- Why is my stuffing dry or soggy?
- Final Thoughts: Give This Gluten Free Stuffing a Shot
- Gluten Free Stuffing Recipe
“Someone is bound to be hosting a gluten free guest in their home.”
Ashe Albiniak says this at the start of her video. She studies at the Auguste Escoffier School of Culinary Arts in Boulder, Colorado, and she built this recipe so the gluten free person at the table gets a real side dish instead of a sad scoop of cranberry sauce.

Why This Gluten Free Stuffing Works
The method comes straight from culinary school, but you do not need a chef hat to pull it off. You sweat the veggies in butter, add herbs and wine, and fold everything into toasted bread. The only real twist is the bread, and it needs a little extra love.
FYI, gluten free bread holds more moisture than regular bread. If you skip the toasting step, you will end up with warm porridge. I speak from experience, and I do not recommend it.
Ingredients for Gluten Free Stuffing
The ingredient list stays short, so every item has a job. Here is what you need and why I care about each one.

The Bread and the Butter
Gluten free bread cubes (6 cups, toasted): This is the star of the show. I pick a sturdy sandwich loaf over a soft, airy one because sturdy bread keeps its shape when the broth hits it. Cut even cubes and toast them until they feel dry and crisp.
Unsalted butter (4 tablespoons): Butter carries all the flavor from the veggies and makes the whole thing rich. I go unsalted because the broth already brings plenty of sodium. For a dairy-free version, grab a plant-based butter stick instead of a tub spread, since tubs have more water and make your veggies steam instead of sweat.
The Veggies
Shallots (2, minced): Shallots taste milder and sweeter than regular onions. Mince them small so they melt into the mix. If you cannot find any, add a bit more yellow onion and call it a day.
Celery (2 stalks, small diced): Celery keeps the stuffing from tasting heavy. Pick firm stalks and skip any limp ones. IMO, stuffing without celery tastes weirdly flat.
Yellow onions (2, small diced): Yellow onions sweeten up nicely as they cook. I prefer them to red onions here, because red onions turn a muddy color in the finished dish. Dice them about the same size as the celery so everything cooks evenly.
Garlic (3 cloves, minced): Garlic burns fast, and burnt garlic tastes bitter enough to ruin the pan. Use fresh cloves, because jarred garlic tastes dull and a little sour. Cook it just until it smells fragrant, then move on.
The Herbs and Seasoning
Dried sage (2 teaspoons): Sage gives stuffing that holiday smell everyone loves. Check the date on your jar, since old sage loses its punch. If it smells like dust, toss it and buy a new one.
Dried thyme (2 teaspoons): Thyme adds a gentle, lemony note that balances the stronger sage. Dried thyme works great here because it wakes up in warm butter. If you want fresh thyme, use about triple the amount.
Salt and pepper (to taste): I use kosher salt because I can pinch it and measure by feel. Add it in stages, since the broth brings its own sodium. Freshly ground pepper beats the pre-ground stuff every time.
The Liquids
Dry white wine (1/2 cup): Wine adds acidity that broth cannot match. Pick something dry like Sauvignon Blanc or Pinot Grigio, and skip anything sweet. No wine on hand? Use extra broth and a small squeeze of lemon juice.
Chicken broth (1 cup): Broth turns dry cubes into real stuffing. Choose a low-sodium version so you control the saltiness. Read the label, because some brands sneak in wheat, and the whole point here is keeping your guest safe.
How to Make Gluten Free Stuffing
You need about an hour from start to finish, and the oven does most of the work.
Step 1: Preheat the Oven and Prep Your Pan
Set your oven to 325 degrees and butter a casserole dish well. The video uses a hotel pan, but a 9×11 dish works great at home. The butter stops sticking and helps the bottom brown. Park your toasted bread cubes in a big bowl so you can move fast later.
Step 2: Melt the Butter
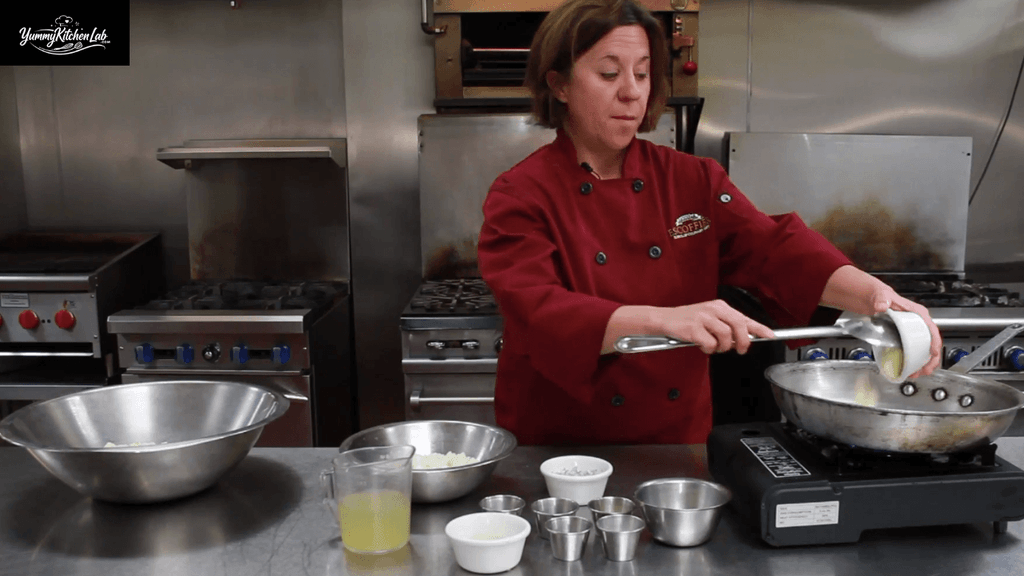
Drop your butter into a hot pan and let it melt completely. Half-melted butter cooks unevenly and scorches, so give it a minute. Your veggies should sizzle the second they hit the pan.
Step 3: Sweat the Shallots, Onions, and Celery
Add the shallots, onions, and celery, then stir until the butter coats everything. Sweat them for a few minutes over moderate heat. You want soft and translucent, not brown. If you see color, turn the heat down.

Step 4: Add the Garlic Last
Stir in the garlic once the veggies soften. Let it cook for a couple of minutes until it smells fragrant. Pull the pan off the heat for a moment if the garlic starts to brown, because you cannot hide burnt garlic.
Step 5: Season with Sage, Thyme, Salt, and Pepper
Sprinkle in the sage, thyme, salt, and pepper, then give everything a good mix. The warm butter wakes up the dried herbs and spreads their flavor around. Taste a small spoonful. It should taste a bit bolder than you want the final dish, because the bread will mellow it out.

Step 6: Reduce the Wine by Half
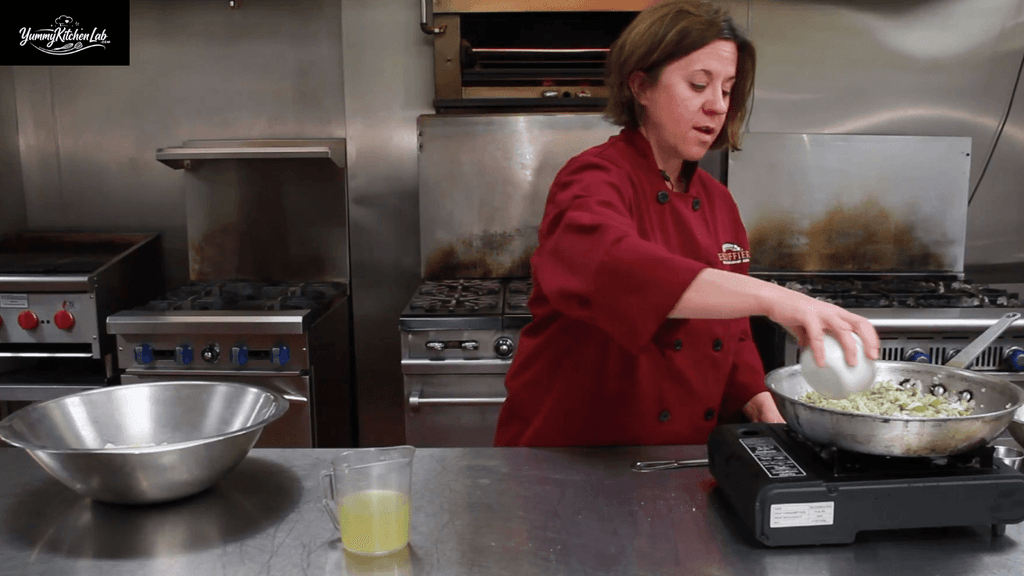
Pour in the wine and let it simmer until it shrinks to about half. This step cooks off the harsh alcohol and leaves a bright, concentrated flavor. Stay near the stove, because it reduces faster than you expect.
Step 7: Combine with the Bread and Broth
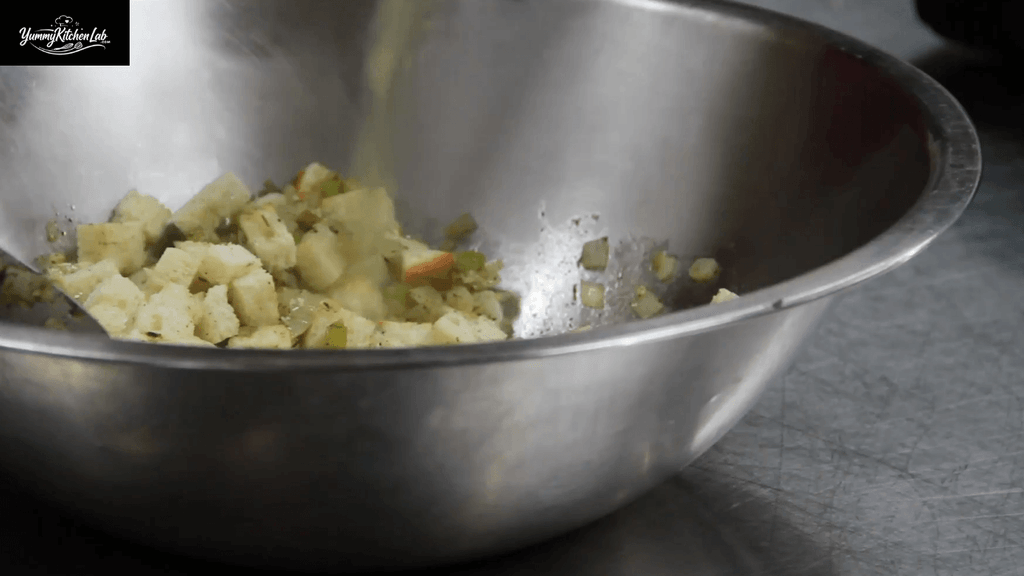
Add the veggie and wine mixture to your toasted bread cubes, then pour in the chicken broth. Fold gently until every cube looks evenly coated. Rough stirring breaks the bread down and gives you dense, heavy stuffing. Move the mix into your buttered dish, and aim for moist cubes, not a swimming pool.
Step 8: Bake Until Golden Brown
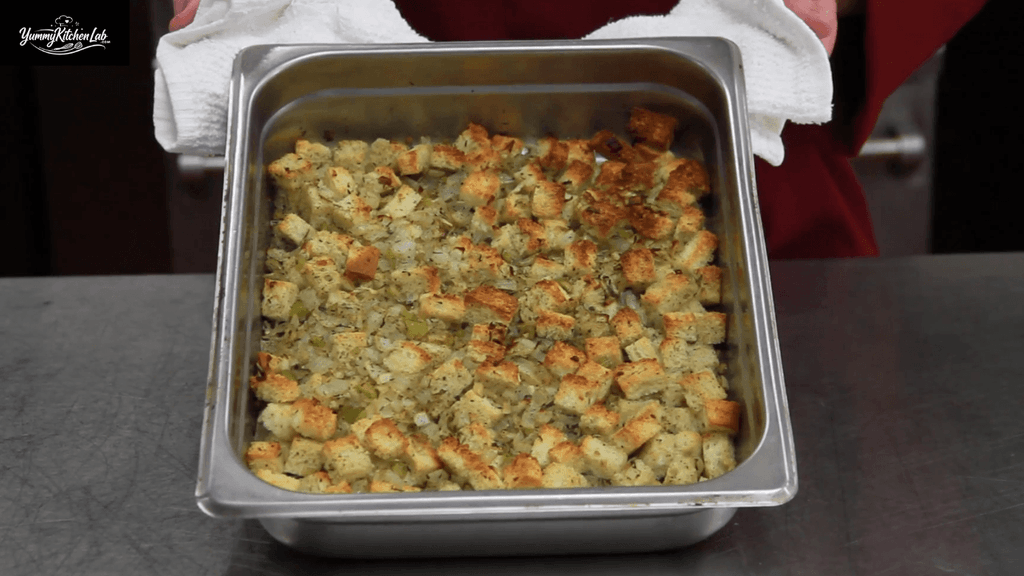
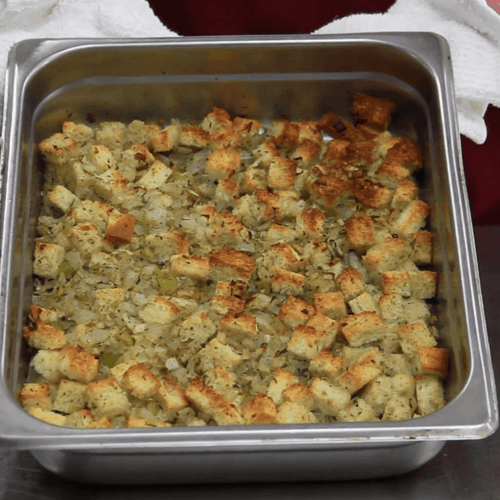
Bake for about 30 minutes at 325 degrees. You want a deep golden top with crisp edges. If the top darkens too fast, cover it loosely with foil for the last 10 minutes. That crisp top against the tender middle is why people go back for seconds.
Pro Tips for the Best Gluten Free Stuffing
These small tweaks turn good stuffing into the dish your family begs you to bring every year.
- Toast the bread until truly dry. Gluten free bread holds more moisture, so a good toast keeps the texture light instead of pasty.
- Cut the cubes the same size. Uneven pieces soak up liquid at different speeds, so some bites end up soggy and others stay hard.
- Keep the heat moderate. High heat browns the veggies too early and kills that sweet, mellow base.
- Read your broth label. Gluten hides in sneaky places, so check before you buy.
- Fold, never stir. Gentle folding keeps the cubes whole and the stuffing fluffy.
- Season twice. Taste the veggies before they meet the bread, then check again before baking, since bread soaks up seasoning fast.
- Rest it for five minutes. A short rest lets the moisture settle, so your spoon scoops clean.
- Use a wide, shallow pan. More surface area gives you more crispy top, which is the best part IMO.
Serving Ideas for Gluten Free Stuffing
This side works for a big holiday spread or a quiet Tuesday dinner. Here are four combos I keep coming back to.
- Classic Thanksgiving plate: Serve it next to roast turkey, gluten free gravy, and cranberry sauce. The herbs echo the turkey, and the tart cranberry cuts through the richness.
- Christmas roast chicken dinner: Pair it with a simple roast chicken and glazed carrots. The chicken juices run into the stuffing on your plate, which tastes fantastic.
- Vegetarian holiday main: Swap in vegetable broth and serve it with roasted squash and a green salad. The golden crust makes it hearty enough to carry the whole meal.
- Next-day brunch: Reheat a scoop in a skillet and top it with a fried egg. Crispy edges plus a runny yolk make leftovers feel like a plan, not an accident.
For presentation, bake and serve in a shallow ceramic casserole dish so that golden top shows off. A sprinkle of fresh sage leaves or chopped parsley adds a pop of color against the brown crust.
Gluten Free Stuffing FAQ
Can I make gluten free stuffing ahead of time?
Yes, and it holds up well. Prep the veggie mixture and toast the bread a day early, then store them separately. Combine and bake when you are ready, because mixing too early turns the bread soggy.
What bread works best?
A sturdy gluten free sandwich loaf or a rustic boule works best. Skip the soft, airy loaves, since they fall apart when the broth goes in. Toasted cubes matter more than the brand.
How do I store and reheat leftovers?
Cool the stuffing, then refrigerate it in an airtight container for up to three days. Reheat it covered in a 325 degree oven with a splash of broth. A skillet works too if you want crispy edges.
Can I leave out the wine?
Absolutely. Use an equal amount of broth and add a small squeeze of lemon juice for brightness. You lose a little depth, but the stuffing still tastes great.
Why is my stuffing dry or soggy?
Dry stuffing usually means too little broth or over-toasted bread, so add a splash before baking. Soggy stuffing usually means untoasted bread or too much liquid. Toast the cubes well and measure the broth carefully.
Final Thoughts: Give This Gluten Free Stuffing a Shot
Here is the quick recap. Toast your bread until it feels dry, sweat the veggies slowly, add the garlic last, and reduce the wine before you fold everything together. Bake it until the top turns golden, and you get a side dish that welcomes everyone at the table.
I think every holiday host should keep a reliable gluten free stuffing recipe in their back pocket. Try it this season and watch the gluten free guest light up. Did you make it? Tell me how it went in the comments, and share your favorite twist.
Gluten Free Stuffing Recipe
Ingredients
- 6 cups gluten free bread cubes toasted
- 4 tbsp unsalted butter
- 2 shallots minced
- 2 yellow onions small diced
- 2 celery stalks small diced
- 3 garlic cloves minced
- 2 tsp dried sage
- 2 tsp dried thyme
- Salt and pepper to taste
- 1/2 cup dry white wine
- 1 cup gluten free chicken broth
Instructions
- Preheat oven to 325 degrees and butter a casserole dish.
- Melt butter in a hot pan.
- Sweat shallots, onions, and celery for a few minutes.
- Add garlic and cook until fragrant.
- Stir in sage, thyme, salt, and pepper.
- Add wine and reduce by half.
- Fold veggies into bread cubes with the broth.
- Transfer to the dish and bake 30 minutes until golden.
Video
Notes
- Always check that the broth says gluten free on the label.
- Swap the wine for extra broth and a squeeze of lemon.
- Refrigerate leftovers up to 3 days and reheat covered with a splash of broth.