

Look, I’m just going to say it. Some dips are good. Some dips are great. And then there’s crack dip, a warm, bubbling, cheese-loaded monster of a recipe that makes every other appetizer at the table feel like an afterthought. I first made this for a game day gathering a few years ago, and I kid you not, people hovered over the dish like seagulls fighting over a french fry. By halftime, the dish was empty and three people asked me for the recipe before they even finished their first serving.
- What Makes Crack Dip So Ridiculously Addictive?
- What You’ll Need: Ingredients Breakdown
- Bacon (About 12 Strips)
- Cream Cheese (One 8-oz Package)
- Ranch Seasoning Mix (One Packet)
- Sour Cream (One 16-oz Container)
- Shredded Cheddar Cheese (Two Cups, Divided)
- Green Onions
- How to Make Crack Dip Step by Step
- Step 1: Cook and Chop Your Bacon
- Step 2: Combine the Base Ingredients
- Step 3: Add the Cheese and Bacon
- Step 4: Mix by Hand Until Fully Combined
- Step 5: Transfer to Your Baking Dish
- Step 6: Cover With Foil and Bake
- Step 7: Add the Cheese Topping and Finish Baking
- Step 8: Top With Bacon and Green Onions
- Pro Tips That Make a Real Difference
- Soften the Cream Cheese the Right Way
- Reserve Your Toppings Before Mixing
- Don’t Skip the Foil
- Use an 8×8 Dish, Not a Larger One
- Make It Ahead and Reheat
- Try the Slow Cooker Version for Parties
- Let It Rest Two Minutes Before Serving
- Serving Ideas That Actually Work
- Frequently Asked Questions
- Can I Make Crack Dip Ahead of Time?
- Can I Make Crack Dip in a Slow Cooker?
- How Do I Store Leftovers?
- Can I Use Greek Yogurt Instead of Sour Cream?
- Does Crack Dip Work Without Baking It?
- Crack Dip: The Only Party Recipe You’ll Ever Need
If you’ve never made crack dip before, you’re in for a treat. And if you have made it, stick around because I’ve got tips that’ll take yours from “pretty good” to “people won’t stop talking about it.” Let’s get into it.

What Makes Crack Dip So Ridiculously Addictive?
The name comes from crack chicken, a wildly popular recipe that blew up across food blogs for its addictive combination of cream cheese, ranch, bacon, and cheddar. When someone decided to fold those same flavors into a baked dip format, the internet collectively lost its mind. And honestly? Rightfully so.
As Carrie from Eating on a Dime puts it: “When we have a recipe that has crack in the name, it has the traditional amazing ingredients of cream cheese, ranch, bacon, and cheddar cheese.” That’s really all there is to it. Four ingredients that have absolutely no business tasting this good together, yet here we are.
This dip lives at the intersection of simple and satisfying. It shows up at game days, potlucks, and weeknight dinners, and it disappears every single time. FYI, I’ve started making a double batch because a single dish just doesn’t cut it anymore.
What You’ll Need: Ingredients Breakdown
There are only five ingredients in this dip, which means the quality of each one actually matters. No hiding behind a complicated ingredient list here. Every component pulls its weight, so let’s break them down.
Bacon (About 12 Strips)
Bacon is the backbone of this dip. It brings salt, fat, smoke, and crunch that nothing else in the recipe can replicate. You want it cooked crispy and fully cooled before it goes into the mix. Soft or warm bacon turns limp once it hits the cream cheese, and you lose all that beautiful textural contrast.
If cooking from raw bacon feels like too much effort on game day, grab a pack of pre-cooked bacon strips. They crisp up in under two minutes in the microwave. Real bacon bits from the store work too. Just use about half a cup. Whatever you do, avoid the imitation bacon bits in the green shaker jar. They taste processed and will drag the whole dip down.
Cream Cheese (One 8-oz Package)
Cream cheese holds everything together and gives the dip its signature dense, rich texture. Here’s the thing though: it absolutely must be fully softened to room temperature before you mix it. Cold cream cheese creates a lumpy, uneven dip that refuses to come together no matter how aggressively you stir.
Full-fat Philadelphia is the gold standard here. It behaves predictably and gives you the best result. Reduced-fat versions work in a pinch, but the texture comes out slightly looser and less satisfying. Leave the package on the counter for at least an hour before you start.
Ranch Seasoning Mix (One Packet)
Grab a standard envelope of dry ranch seasoning mix. The Hidden Valley original is what most people reach for, and it works perfectly. This dry mix gives you that herby, buttermilk flavor that ties the whole dip together.
Use the dry mix, not bottled ranch dressing. The dressing is already liquid and will make your dip way too wet and loose. If you prefer a cleaner ingredient list, a homemade ranch mix with dried dill, garlic powder, onion powder, and dried parsley does the same job beautifully.
Sour Cream (One 16-oz Container)
Sour cream adds the tangy contrast that keeps this dip from tasting flat or one-dimensional. The recipe calls for a full 16-ounce container of full-fat sour cream, and that full-fat part genuinely matters. It stays creamy when baked and won’t separate or turn watery like reduced-fat versions sometimes do.
Don’t substitute Greek yogurt unless you want a noticeably tangier, thinner result. Daisy is a reliable brand that holds its texture well under heat. Keep it at room temperature alongside the cream cheese before mixing.
Shredded Cheddar Cheese (Two Cups, Divided)
This recipe splits the cheddar into two portions. One cup goes into the dip for flavor and body, and the second cup melts on top during the final five minutes of baking. Sharp cheddar gives you a bolder cheese flavor than mild, so go sharp if you want that punch.
Pre-shredded cheddar from a bag works fine, but it comes coated with anti-caking starch that slightly dulls the melt. If you have an extra two minutes, shredding a block yourself gives you a cleaner, stretchier result on top. Extra sharp or white cheddar both work beautifully here. Colby jack makes a good milder substitute if your crowd prefers less bite.
Green Onions
Green onions go on after the dip comes out of the oven, not during baking. They provide freshness and a mild onion bite that cuts through the richness of everything else. Slice them thin on a slight diagonal for the best visual result. Don’t skip them. Without that fresh element on top, the whole dip reads as heavy. Chives work as a substitute if that’s what you have on hand.
How to Make Crack Dip Step by Step
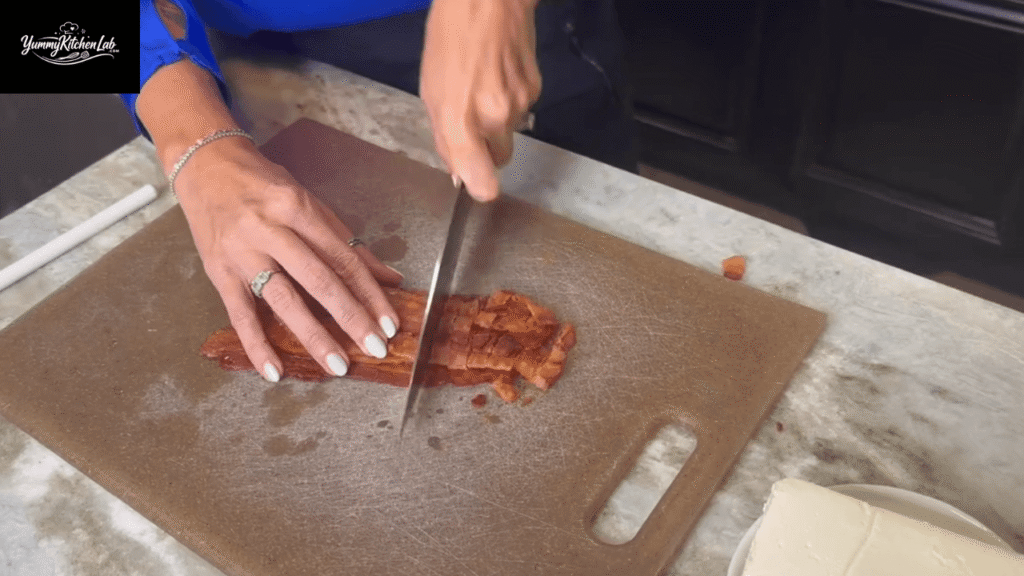
Step 1: Cook and Chop Your Bacon
Cook about 12 strips of bacon until they’re fully crispy, then set them aside to cool completely. Once cooled, chop them into small, irregular pieces with a knife.
The cooling step is not optional. Warm bacon releases fat that turns your dip greasy. If you’re using pre-cooked strips or real bacon bits, skip straight to the next step.
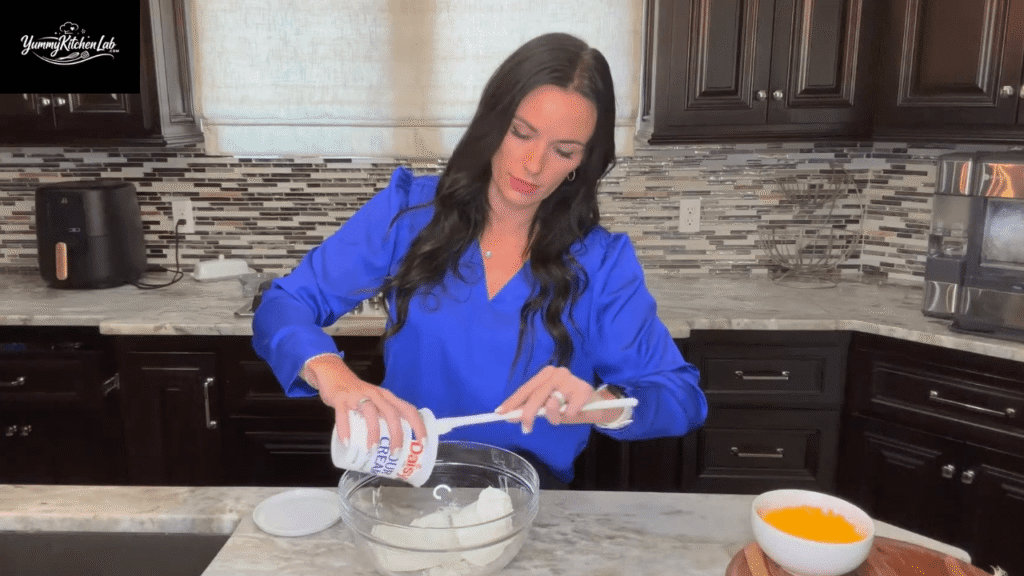
Step 2: Combine the Base Ingredients
Grab a large glass bowl and add the softened cream cheese, the full packet of ranch seasoning, and the entire 16-ounce container of sour cream. These three ingredients form the creamy base of the dip.
I like using a glass bowl here because you can see the texture as you mix. Plus, glass doesn’t hold onto flavors from previous uses the way plastic sometimes does.
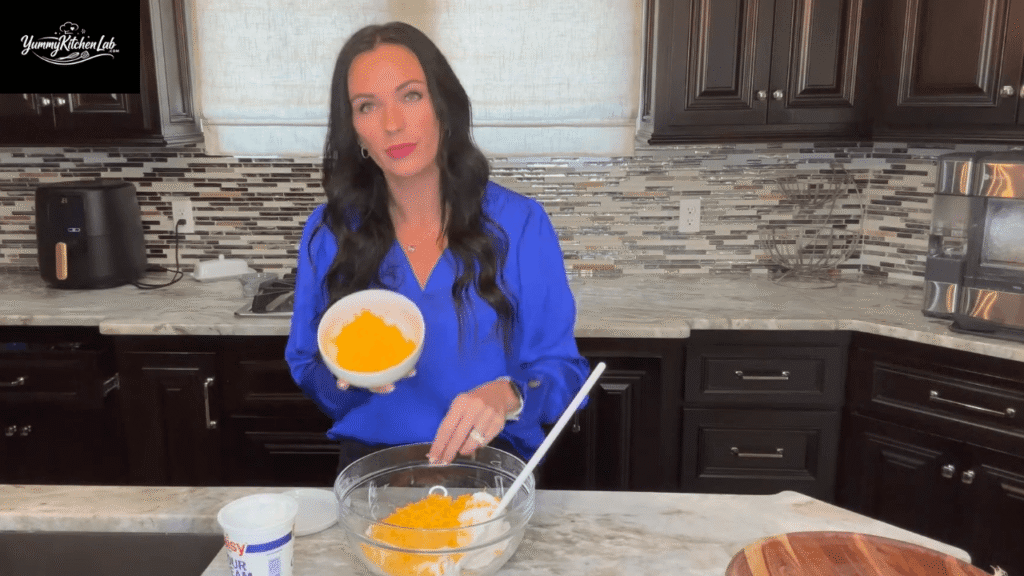
Step 3: Add the Cheese and Bacon
Stir in one cup of the shredded cheddar and most of the chopped bacon. Keep a small portion of each aside for the topping. This step separates a finished-looking dip from a boring one. The toppings you add after baking stay crisp and visible, while the mixed-in ingredients deliver flavor throughout.
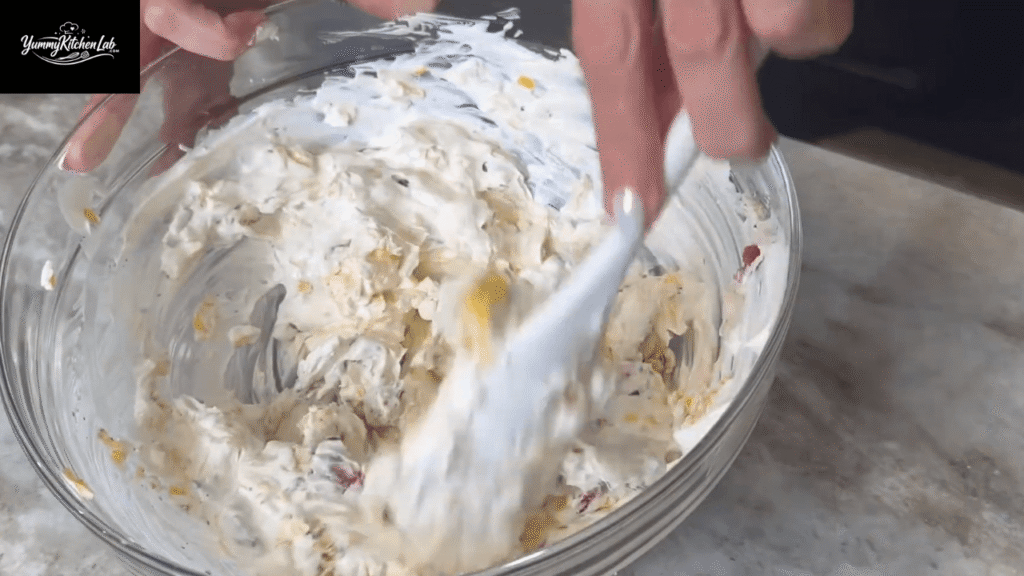
Step 4: Mix by Hand Until Fully Combined
Use a sturdy wooden or silicone spoon and mix everything by hand until the dip looks smooth and evenly combined. Do not use an electric mixer. An electric mixer over-whips the cream cheese and creates a texture that doesn’t hold up well under heat. You want no streaks of plain cream cheese visible. This takes about 90 seconds of elbow grease.
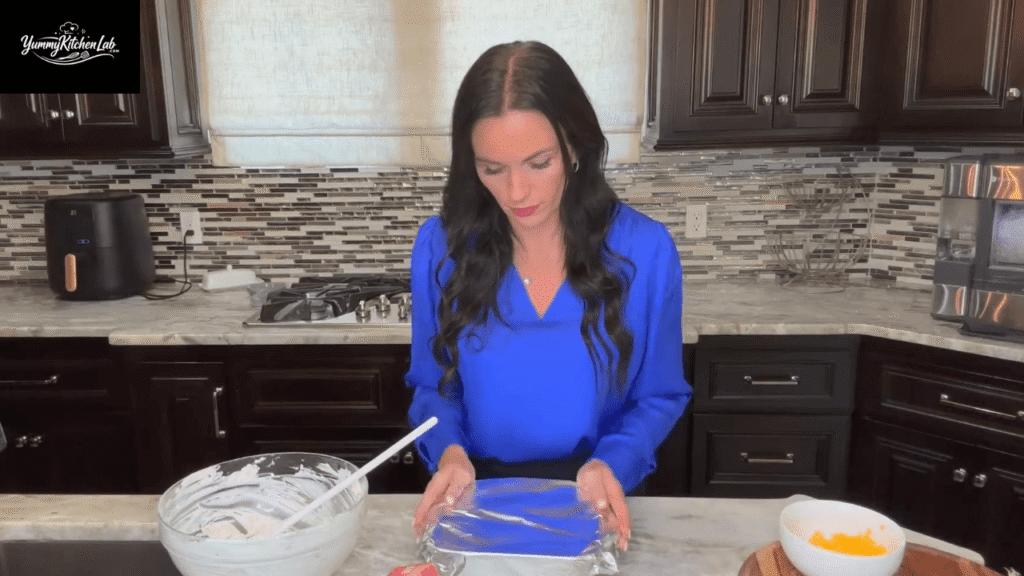
Step 5: Transfer to Your Baking Dish
Spread the dip evenly into an 8×8 baking dish. You don’t need to grease it. The sour cream and cream cheese provide enough fat that nothing sticks. Smooth the top flat with a spatula so it bakes evenly. An uneven surface means some edges overcook while the center stays cold.
Step 6: Cover With Foil and Bake
Cover the dish tightly with aluminum foil and bake at 400°F for 25 minutes. The foil traps steam and lets the dip heat through completely without drying out the surface. Don’t skip this covered bake. It’s what keeps the texture creamy rather than stiff and crusty.
Step 7: Add the Cheese Topping and Finish Baking
After 25 minutes, pull the dish out and remove the foil. Scatter the reserved cup of cheddar evenly across the top, then slide it back into the oven uncovered for another five minutes. Those five minutes transform the cheese into a bubbling, lightly golden layer that looks absolutely incredible. Watch it closely though. Every oven runs slightly differently, and you want melted and slightly browned, not dried out.
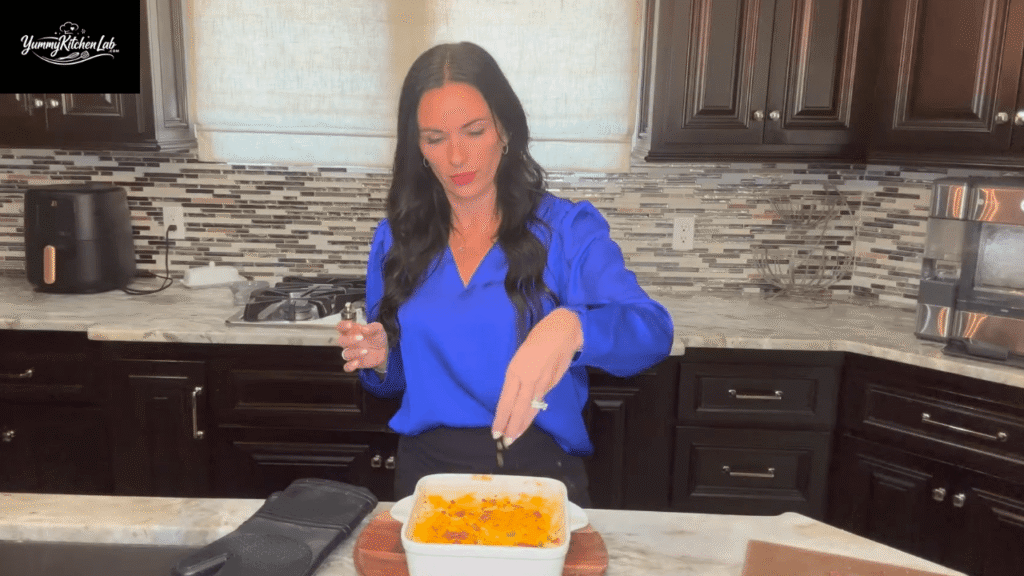
Step 8: Top With Bacon and Green Onions
Pull the dish from the oven and immediately scatter the reserved bacon crumbles over the top, followed by the sliced green onions. The residual heat will slightly wilt the onions if you add them right away, which actually looks nice. If you prefer them completely fresh and crisp, wait about three minutes before adding them. Either way, add them right before serving for the best color and flavor.
Pro Tips That Make a Real Difference
A few small adjustments create a noticeable gap between a good batch and one that people still talk about the next day.
Soften the Cream Cheese the Right Way
Leave it on the counter for at least an hour. Don’t microwave it for 30 seconds and call it done. The microwave creates hot spots that melt the outer edges while the center stays cold, which gives you a lumpy mess during mixing.
Reserve Your Toppings Before Mixing
Set aside a small portion of bacon and cheddar before everything goes into the bowl. The toppings you add after baking stay crisp and visible, which makes the dip look finished rather than like a uniform blob of beige.
Don’t Skip the Foil
I know it feels like an unnecessary extra step, but the covered bake is what heats the dip all the way through without drying the surface. Baking uncovered from the start gives you a tough, chewy top layer before the center even warms up.
Use an 8×8 Dish, Not a Larger One
A bigger dish spreads the dip too thin. Thinner dip overcooks at the edges before the center finishes. The 8×8 gives you a thick, even layer that heats uniformly. If you double the recipe, use a 9×13 instead.
Make It Ahead and Reheat
You can assemble the entire dip the night before, cover it, and refrigerate it. The next day, bake it as instructed but add 5 to 8 extra minutes to the covered bake time since you’re starting from cold. The flavor actually deepens slightly after a night in the fridge, which is a nice bonus.
Try the Slow Cooker Version for Parties
Need the dip to stay warm for a few hours at a party? Combine everything in a slow cooker and cook on low for 2 to 3 hours, stirring once or twice. You won’t get the baked cheese top, but the flavor is identical and it stays at serving temperature without any babysitting.
Let It Rest Two Minutes Before Serving
Pulling it from the oven and immediately shoving crackers into a 400-degree dish burns fingers and splatters melted cheese everywhere. Trust me, I learned this the hard way. Two minutes of rest makes handling easier and lets the texture settle slightly.
Serving Ideas That Actually Work
This dip is versatile enough that what you serve alongside it completely changes the experience. Here are four ways I’ve served it that worked really well.
The Classic Game Day Spread
Set the crack dip warm in the center of the table with Ritz crackers, sturdy tortilla chips, and pretzel crisps around it. The butteriness of Ritz is the classic pairing, but the salt on a pretzel crisp plays beautifully with the ranch flavor. Throw in a platter of celery and bell pepper strips for anyone trying to balance things out.
The Cold Party Option
If you’re heading to a potluck with no way to keep the dip warm, make it the day ahead and serve it cold or at room temperature. It’s genuinely good that way. The flavors concentrate overnight in the fridge and the texture firms up slightly, which makes scooping easier. Serve with thick-cut wavy chips or cucumber rounds.
Baked Potato Topping
Leftover crack dip spooned over a baked potato is one of those quietly excellent kitchen moves. The potato soaks up the ranch and cheese, and the whole thing tastes like you planned it. Just warm both together in the microwave for about 90 seconds. IMO, this might actually be the best way to eat leftovers.
Part of a Grazing Board
Transfer the dip to a small cast iron skillet or shallow crock and place it at the center of a larger grazing board. Surround it with sliced salami, sharp cheddar cubes, grapes, and assorted crackers. The warm, melty dip anchors the whole board. Put a small spreader knife next to it so guests can serve themselves without wrecking the toppings.
For presentation, a warm ceramic or cast iron baking dish looks way more inviting than a plain glass pan. Dark enamel, terracotta, or white ceramic with a thick rim all work great. The contrast between the vessel and the golden cheese, bacon, and green onions on top does most of the visual heavy lifting for you.
Frequently Asked Questions
Can I Make Crack Dip Ahead of Time?
Absolutely. Assemble the full dip up to 24 hours in advance, cover it tightly, and refrigerate it before baking. When you’re ready, bake it covered at 400°F for 30 to 35 minutes instead of 25 since you’re starting from cold. Add the cheese topping and finish uncovered as normal.
Can I Make Crack Dip in a Slow Cooker?
Yes, and it works great for parties where you need the dip to stay warm for hours. Combine everything in the slow cooker, stir well, and cook on low for 2 to 3 hours or on high for about 1 hour, stirring once halfway through. You won’t get the baked cheese top, but the flavor stays the same. Switch it to warm once it’s ready.
How Do I Store Leftovers?
Cover the baking dish with plastic wrap or transfer leftovers to a sealed container. Refrigerate for up to four days. Reheat individual portions in the microwave in 60-second intervals, stirring between each round, until warm throughout. The texture holds up well after reheating. It might be slightly firmer than fresh, but the flavor stays strong.
Can I Use Greek Yogurt Instead of Sour Cream?
You can, but expect two changes. The flavor becomes noticeably tangier and the texture thins out slightly after baking. Full-fat sour cream really is the right call here. If sour cream isn’t available, full-fat plain Greek yogurt works as a backup. Just know the overall profile shifts.
Does Crack Dip Work Without Baking It?
It does. Mix all the ingredients together, chill for at least 30 minutes, and serve cold. The flavor comes through similarly, but the texture feels softer and less structured. The baked version gets a depth from the oven heat and that gorgeous melted cheese top that the cold version simply can’t match. For a quick no-fuss option though, the no-bake version holds its own just fine.
Crack Dip: The Only Party Recipe You’ll Ever Need
Ingredients
- 12 strips bacon, cooked crispy and chopped (or ½ cup real bacon bits)
- 1 package (8 oz) cream cheese, softened to room temperature
- 1 packet dry ranch seasoning mix
- 1 container (16 oz) full-fat sour cream
- 2 cups shredded cheddar cheese, divided
- 3 to 4 green onions, sliced thin
Instructions
- Cook bacon until crispy. Cool completely, then chop into small pieces.
- Preheat oven to 400°F.
- In a large bowl, combine softened cream cheese, ranch packet, and sour cream.
- Stir in 1 cup cheddar and most of the bacon, reserving some of each for topping.
- Mix by hand with a sturdy spoon until fully combined.
- Spread into an ungreased 8×8 baking dish.
- Cover tightly with foil. Bake 25 minutes.
- Remove foil, top with remaining 1 cup cheddar. Bake uncovered 5 more minutes.
- Remove from oven. Top with reserved bacon and sliced green onions. Serve warm.
Video
Notes
- Make ahead: Assemble up to 24 hours in advance, refrigerate, and bake from cold. Add 5 to 8 minutes to the covered bake time.
- Slow cooker: Cook on low 2 to 3 hours or high 1 hour. Keep on warm setting to serve.
- Storage: Refrigerate leftovers covered for up to 4 days. Reheat in 60-second microwave intervals.