
Most side dishes want an hour of your attention, but this one needs a single pot and about twenty minutes. This cheesy rice recipe turns plain long grain rice and chicken stock into a creamy, savory side that disappears faster than the main course. I will walk you through every step, including the small details that keep the rice fluffy instead of gluey. <div align=”center”>
- What You Need for Cheesy Rice
- Long Grain Rice
- Chicken Stock
- Sharp Cheddar Cheese
- Parmesan Cheese (Optional)
- Salt and Cracked Black Pepper
- Green Onions
- How to Make Cheesy Rice (Step by Step)
- 1. Bring the Chicken Stock to a Boil
- 2. Add the Rice and Stir Once
- 3. Cover and Cook on Low for 18 to 20 Minutes
- 4. Chop the Green Onions While You Wait
- 5. Remove the Pot from the Heat and Add the Cheese
- 6. Season with Salt and Black Pepper
- 7. Stir Until the Cheese Melts and Comes Together
- 8. Taste and Adjust the Seasoning
- Pro Tips to Make the Perfect Cheesy Rice
- Serving Ideas
- Frequently Asked Questions
- Can I use a different kind of rice?
- Why is my cheese clumpy or greasy?
- How do I store and reheat leftovers?
- Can I make this vegetarian?
- Can I add other ingredients?
- Final Thoughts on This Cheesy Rice Recipe
- Cheesy Rice Recipe
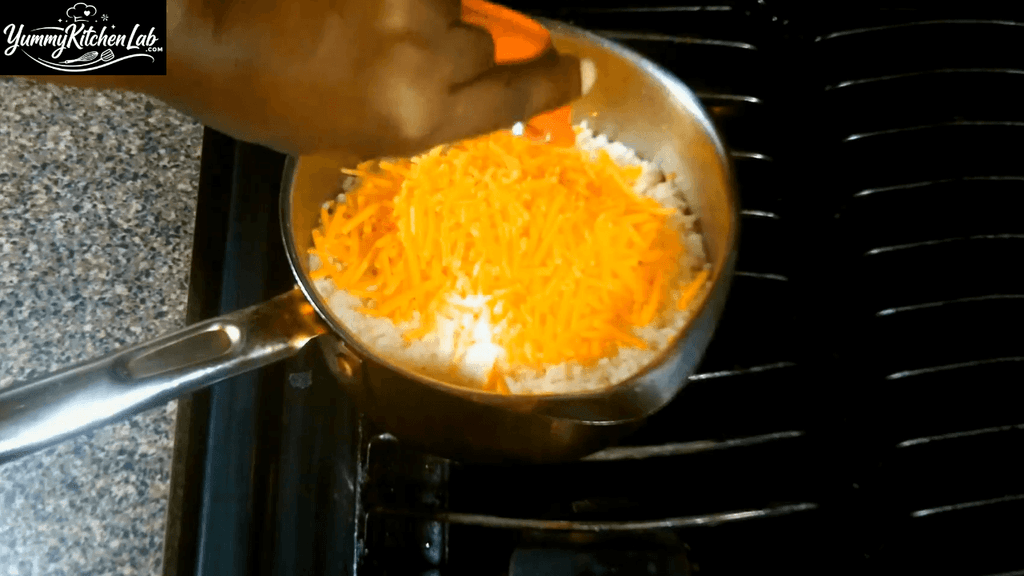
“You don’t need any more heat because the hot rice will melt the cheese.”
Chef Kendra’s reminder in the video, right as the cheddar goes into the pot. </div>
That one line is the whole technique. The cheese melts from the leftover heat of the rice, so there is no sauce to make and no risk of a greasy, broken mess.
Chef Kendra builds this dish with long grain rice instead of the Arborio rice used for risotto. That choice changes everything about how you cook it. Risotto needs constant stirring and slow additions of liquid, while long grain rice simmers quietly under a lid.
The result tastes rich and comforting without any of the fuss. It works as a side for almost any protein, and it is forgiving enough for a beginner.

What You Need for Cheesy Rice
The ingredient list is short, which means each item carries real weight. A small upgrade in quality, such as freshly shredded cheese, shows up in the finished bowl. Here is what goes into the pot and why I choose each one the way I do.
Long Grain Rice
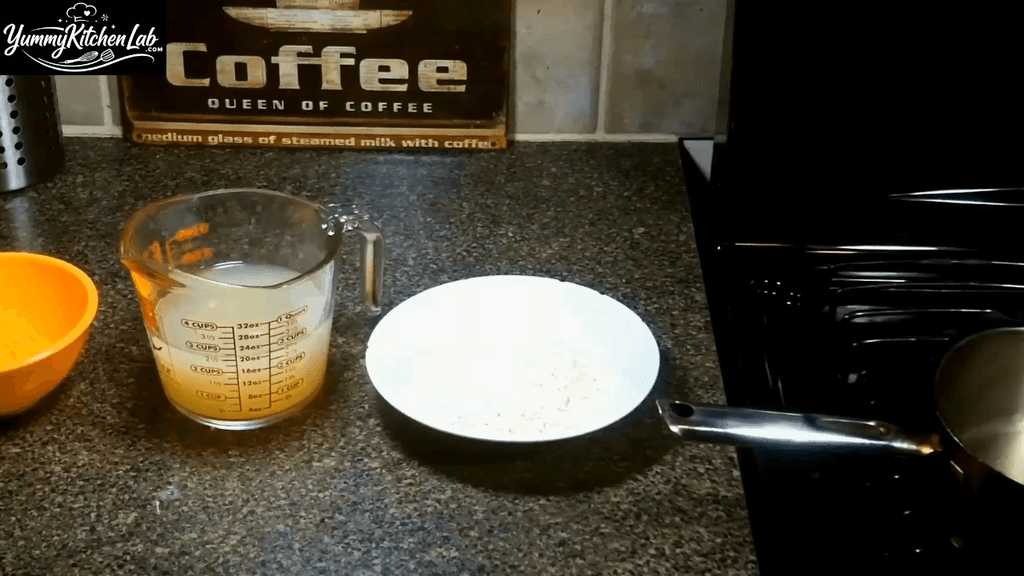
Long grain rice stays separate and fluffy when it cooks, which is exactly what you want when cheese is going to coat every grain. Short grain and Arborio rice release too much starch and turn sticky, so save those for risotto. Plain white long grain works best here, and basmati is a fine swap if that is what you have. I avoid parboiled or instant rice because the cooking times in this recipe will not match.
Chicken Stock
The stock does the heavy lifting on flavor, since the rice absorbs all of it. I use low-sodium stock so I control the salt at the end, especially because the cheese adds its own. Water works in a pinch, but the rice tastes flat without the savory base. Vegetable stock is the best swap if you want a vegetarian version.
Sharp Cheddar Cheese
Sharp cheddar has enough punch to stand out against plain rice, while mild cheddar tends to disappear. I always shred it from a block, because bagged shredded cheese is coated in starch that keeps it from melting smoothly. Colby Jack or Gruyere also work if you want a milder or nuttier result. The most common mistake is adding the cheese while the pot is still on the burner, which can turn it oily.
Parmesan Cheese (Optional)
Chef Kendra mentions that this dish is also excellent with Parmesan, and I agree. Parmesan gives you a saltier, sharper flavor with less stretch than cheddar. I like to replace about a third of the cheddar with it. Buy a wedge and grate it yourself, because the shelf-stable canned kind never melts properly.
Salt and Cracked Black Pepper
Salt comes last in this recipe because the stock and the cheese both bring salt with them. Taste first, then add a little at a time. Freshly cracked black pepper makes a noticeable difference here, since the heat and aroma stand out against the creamy cheese. A few twists of the grinder is all it takes.
Green Onions
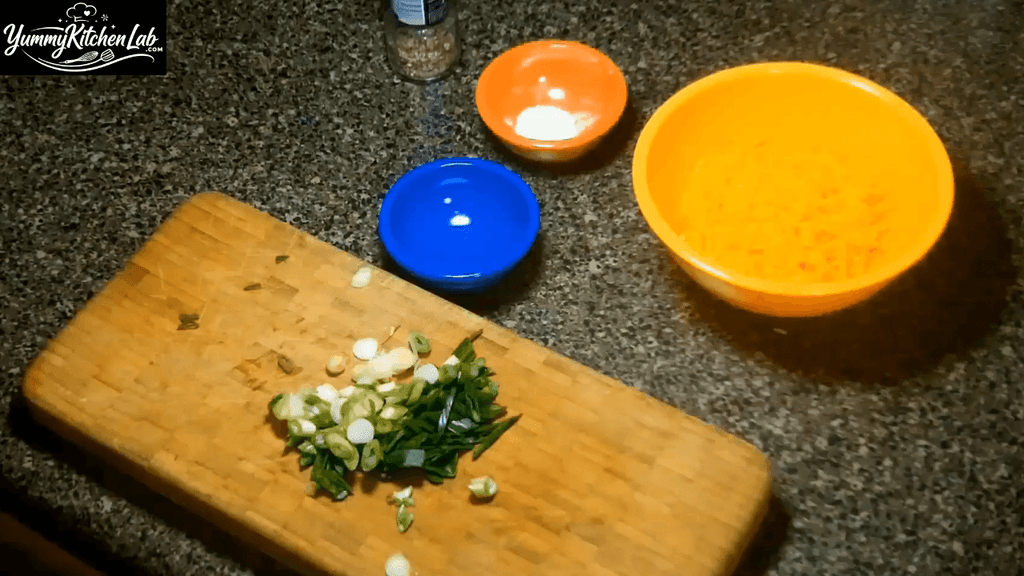
Green onions are the garnish, and they add a fresh, mild bite that keeps the dish from feeling heavy. Slice them thin so they scatter evenly across the top. Chives are a good substitute if you cannot find green onions. Add them at the end, because heat dulls their color and flavor.
How to Make Cheesy Rice (Step by Step)
1. Bring the Chicken Stock to a Boil
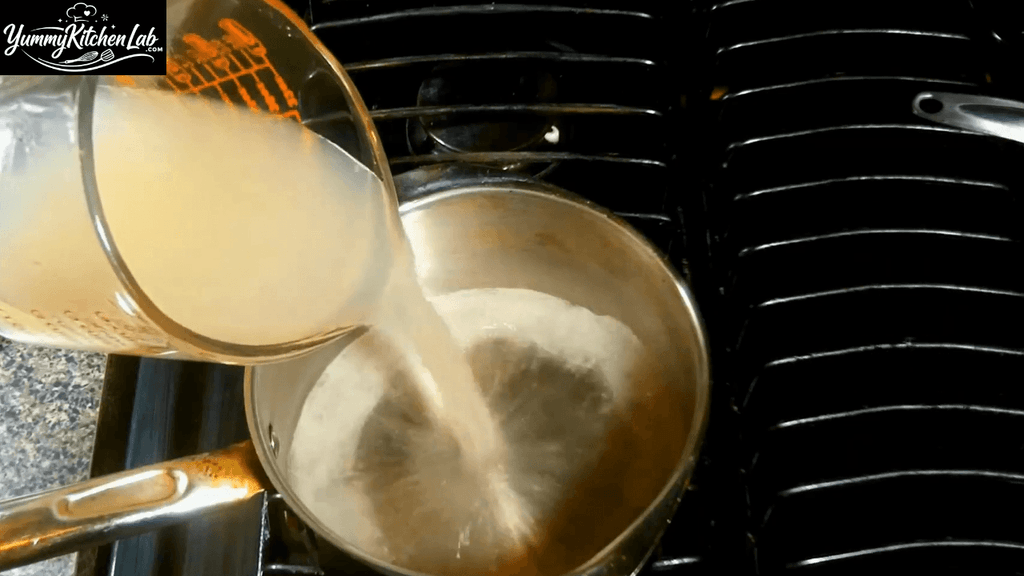
Pour the chicken stock into a pot and set it over high heat. Starting with boiling liquid gives the rice an even start, so the grains cook at the same pace. Use a pot with a tight-fitting lid, since you will need it in a few minutes.
2. Add the Rice and Stir Once
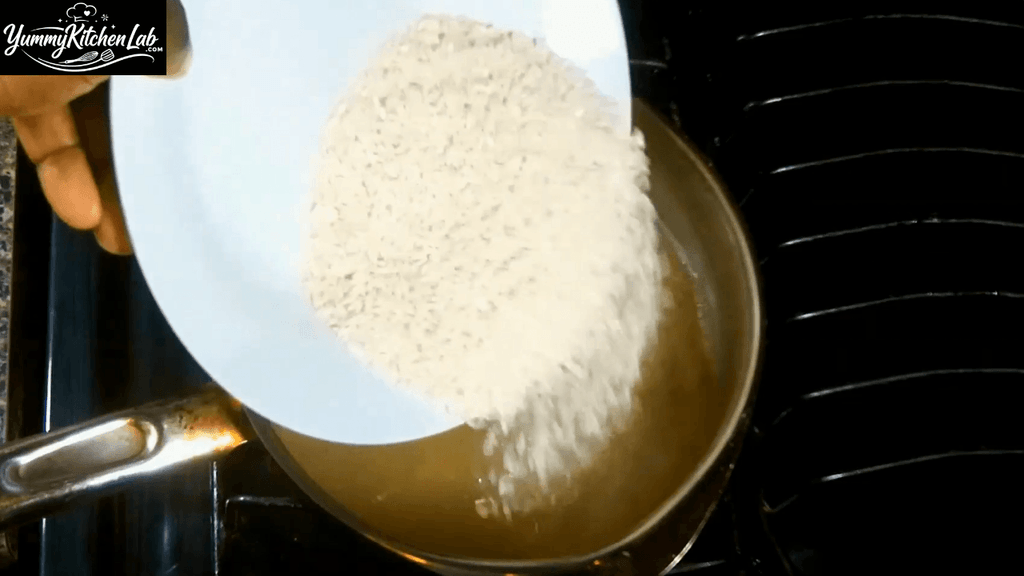
Add the rice to the boiling stock and give it a short stir. Chef Kendra says it plainly: you do not want to mess with it too much. Over-stirring rubs starch off the grains and makes the finished rice gummy.
3. Cover and Cook on Low for 18 to 20 Minutes
Bring the pot back to a boil, then put the lid on and drop the heat to low. Let it cook for 18 to 20 minutes without lifting the lid. Every peek lets steam escape, and that steam is what cooks the top layer of rice.
4. Chop the Green Onions While You Wait
Use the downtime to slice your green onions for garnish. This is also a good moment to shred your cheddar if you have not already. Having everything ready matters because the cheese step moves quickly.
5. Remove the Pot from the Heat and Add the Cheese
When the timer ends, take the pot off the burner completely. Add the sharp cheddar on top of the hot rice. Turning off the heat is the key to a smooth melt, because direct heat can make the cheese separate.
6. Season with Salt and Black Pepper
Sprinkle in a little salt and a few twists of cracked black pepper. Go light on the salt at first, since the stock and cheese already contribute plenty. You can always add more after tasting.

7. Stir Until the Cheese Melts and Comes Together
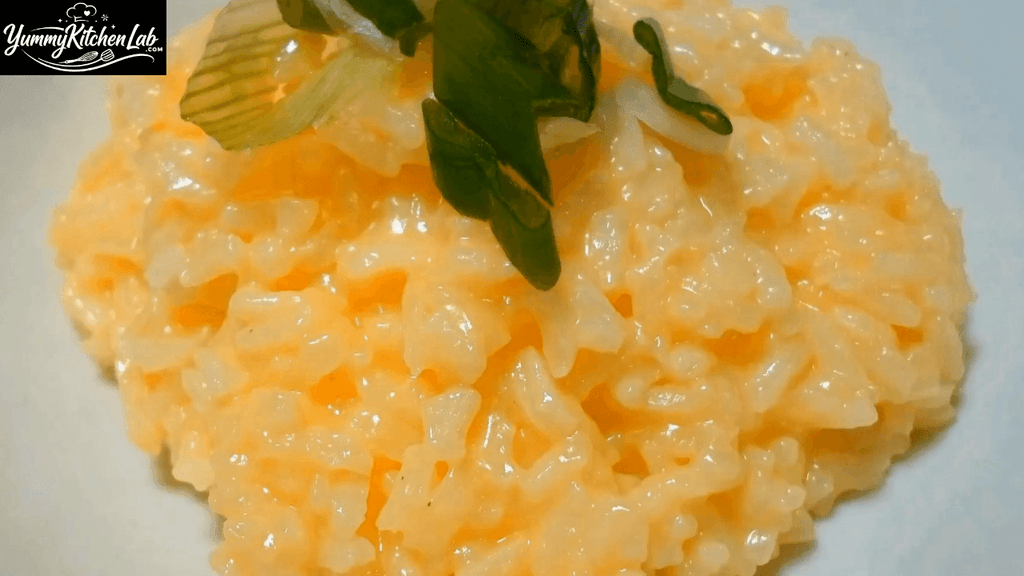
Stir the rice until the cheese melts and coats every grain. It takes a bit of stirring to get the cheese mixed in well, so be patient. The hot rice does all the melting, and you end up with a creamy, warm, comforting side dish.

8. Taste and Adjust the Seasoning
Taste a spoonful before you serve it. Chef Kendra found it pretty darn good as it was, and I usually agree. If it needs anything, add a pinch of salt or a little more pepper, then top with the green onions.
Pro Tips to Make the Perfect Cheesy Rice
These are the small habits that separate good cheesy rice from a clumpy or greasy pot.
- Keep the lid on. Lifting it during the simmer lets out steam and leads to uneven, undercooked rice on top.
- Shred your own cheese. Block cheddar melts smoothly, while pre-shredded cheese can turn grainy because of the anti-caking coating.
- Take the pot off the heat first. Residual heat is enough to melt the cheese, and direct heat is what causes oil to separate.
- Add the cheese in two batches. Stirring in half, then the rest, helps it melt evenly instead of clumping in one spot.
- Salt at the very end. Between the stock and the cheddar, the rice is often salty enough already, so taste before you season.
- Let the pot rest for a few minutes. If the rice looks a little wet after cooking, leave it covered off the heat for five minutes before adding the cheese.
- Reheat with a splash of liquid. Leftover rice firms up in the fridge, so add a spoonful of stock or milk and warm it gently to bring back the creaminess.
Serving Ideas
This is the kind of side dish that makes a simple dinner feel finished. It is rich enough to hold its own and mild enough to sit next to bold flavors. Here are four ways I like to serve it.
Weeknight Roast Chicken Dinner
Cheesy rice pairs naturally with roast chicken, because the juices from the bird run into the rice. Add steamed green beans or roasted broccoli for color. The whole plate comes together with very little effort.
Backyard Barbecue
Serve it alongside pulled pork, grilled sausages, or smoked chicken thighs. The creamy cheddar balances smoky and tangy sauces well. It also holds its heat nicely in a covered dish on the table.
Southwest Style Bowl
Spoon the rice into a bowl and top it with black beans, corn, salsa, and sliced avocado. The cheddar acts like a built-in queso. A squeeze of lime on top keeps it bright.
Holiday Table Side
Make it as a side for baked ham, turkey, or roast beef when you want something more interesting than plain rice. It feeds a crowd easily and pairs well with glazed carrots or green bean casserole.
For presentation, I like a wide, shallow bowl in a warm color, which shows off the cheese and the green onions. Scatter the sliced green onions over the top right before serving so they stay bright. A light dusting of cracked pepper finishes it.
Frequently Asked Questions
Can I use a different kind of rice?
Long grain white rice gives the best result because it stays fluffy. Basmati works well too. Skip Arborio and sushi rice, since they turn sticky and lose that light texture.
Why is my cheese clumpy or greasy?
Usually the cheese went in over direct heat, or it came pre-shredded. Take the pot off the burner before you add the cheese, and shred it fresh from a block. A good, thorough stir helps it blend in too.
How do I store and reheat leftovers?
Store leftovers in an airtight container in the fridge for up to three days. Reheat them on low heat on the stove, or in the microwave with a splash of stock or milk. The liquid brings back the creamy texture.
Can I make this vegetarian?
Yes, just swap the chicken stock for a flavorful vegetable stock. Everything else stays the same. Pick a stock you’d actually sip, since it’s the base of the dish.
Can I add other ingredients?
Absolutely. Steamed broccoli, crispy bacon bits, or diced ham all work. Stir them in with the cheese so they warm through, and keep the add-ins modest so the rice stays creamy.
Final Thoughts on This Cheesy Rice Recipe
Here’s the quick recap. Use long grain rice, cook it covered on low for 18 to 20 minutes, and take the pot off the heat before the cheese goes in. Shred your own sharp cheddar, stir until it melts, and taste before you add more salt.
That’s it. One pot, a handful of ingredients, and a side dish that steals the show. Give it a shot this week and tell me in the comments how it turned out, or which cheese you tried.
Cheesy Rice Recipe
Ingredients
- 2 cups chicken stock
- 1 cup long grain rice
- 1 1/2 cups shredded sharp cheddar
- Salt to taste
- Cracked black pepper to taste
- 2 green onions sliced
Instructions
- Bring chicken stock to a boil in a pot.
- Add rice and stir once.
- Return to a boil, cover, and reduce heat to low.
- Cook 18 to 20 minutes.
- Remove from heat and add cheddar.
- Season with salt and pepper.
- Stir until the cheese melts.
- Taste, adjust, and top with green onions.
Video
Notes
- Parmesan can replace part of the cheddar.
- Use vegetable stock for a vegetarian version.
- Store in the fridge up to 3 days and reheat with a splash of liquid.