

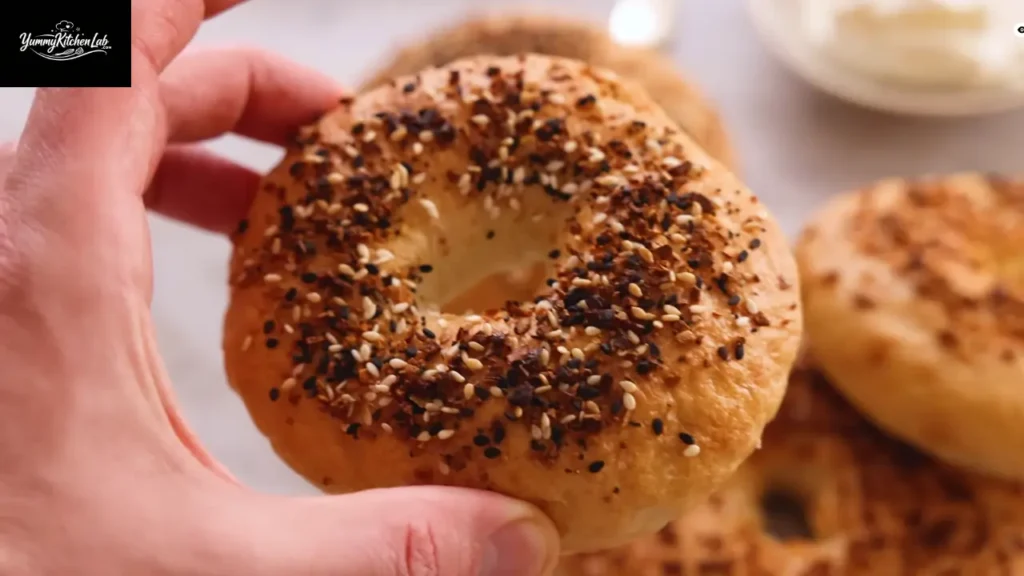
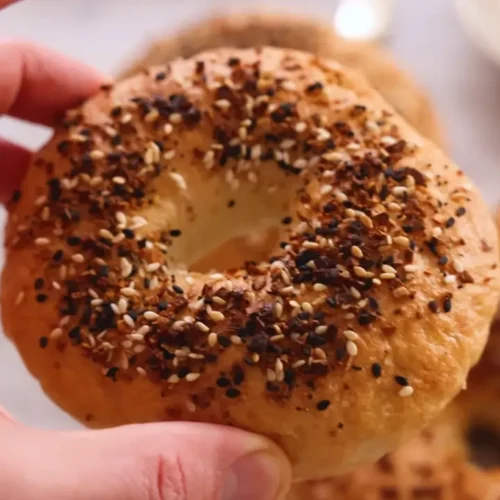
Once you bite into a truly great homemade everything bagel, store-bought instantly becomes an insult. That shattering crust, the dense chew, the salty-savory-garlicky seasoning clinging to every square inch. You just can’t unknow that experience.
- A Quick History of the Everything Bagel
- Ingredients for Homemade Everything Bagels
- Warm Water
- Active Dry Yeast
- Brown Sugar (or Barley Malt Syrup)
- Bread Flour
- Salt
- Baking Soda (for the Boiling Water)
- Everything Bagel Seasoning
- How to Make Everything Bagels (Step by Step)
- Step 1: Proof the Yeast
- Step 2: Add the Flour and Mix the Dough
- Step 3: Check for the Windowpane
- Step 4: First Rise
- Step 5: Divide and Shape
- Step 6: Second Rise
- Step 7: Prepare the Boiling Water
- Step 8: Boil the Bagels
- Step 9: Top and Bake
- Pro Tips for Perfect Homemade Everything Bagels
- Serving Ideas for Everything Bagels
- The Classic Lox Spread
- Weekend Brunch Bagel Sandwich
- Simple Cream Cheese and Cucumber
- Avocado and Everything Bagel
- Frequently Asked Questions
- Can I make these bagels without a stand mixer?
- What if I can’t find barley malt syrup?
- Why did my bagels come out dense?
- Can I freeze homemade bagels?
- Can I use different toppings?
- Everything Bagel Recipe
- Final Thoughts
This everything bagel recipe delivers the real deal. Eight big, gorgeous, bakery-quality bagels made entirely from scratch in your own kitchen. No weird shortcuts, no skipped steps, no sad, bready imposters pretending to be bagels.
Most homemade bagel recipes either overcomplicate things or leave out the steps that actually matter (looking at you, recipes that skip the boil). This one hits every mark. Yeast-leavened dough, a baking soda boil for that signature crust, a high-heat bake, and a mid-bake flip that most people don’t even know about.
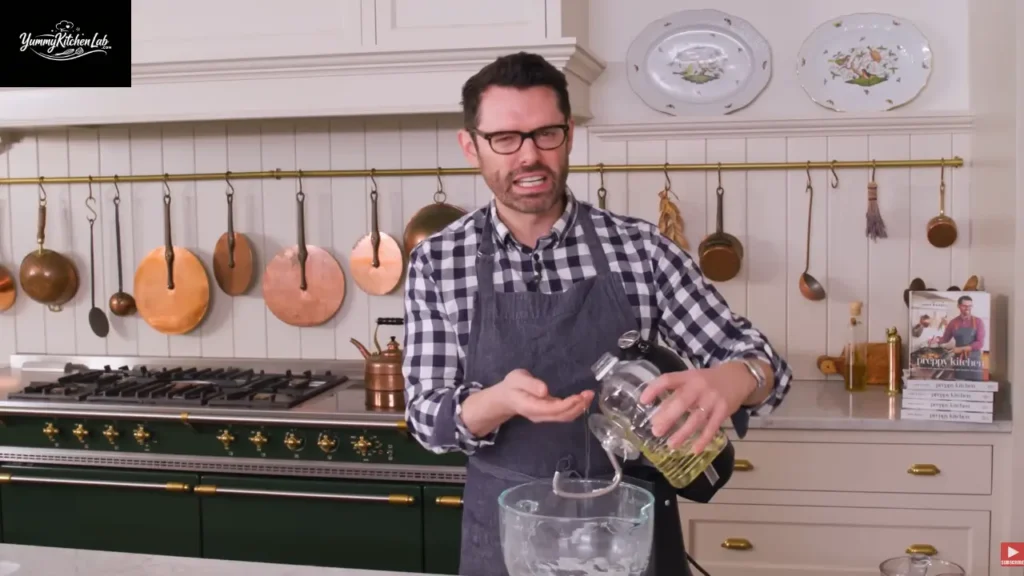
As John Kanell from Preppy Kitchen puts it: “Nothing beats a bagel fresh out of the oven, so soft on the inside, nice and airy, with that wonderful chewy, crisp edge.”

A Quick History of the Everything Bagel
Bagels trace back to Eastern European Jewish communities, where bakers boiled the dough before baking to create that distinctly chewy texture no other bread can touch. Traditional recipes call for barley malt syrup in both the dough and the boiling water, adding a subtle, slightly sweet depth that’s honestly hard to replicate exactly.
Brown sugar gets you close enough for everyday baking, though. The everything bagel itself, topped with sesame seeds, poppy seeds, dried garlic, dried onion, and salt, became a New York deli staple and has basically never fallen out of favor. For good reason, IMO.
Ingredients for Homemade Everything Bagels
Here’s your full lineup before we break each one down. Every ingredient earns its spot, and knowing why helps you avoid the common mistakes.
Warm Water
Water temperature might seem like a minor detail, but it’s actually one of the biggest make-or-break decisions in this entire recipe. You need it between 100°F and 110°F. Warm enough to wake up the yeast, but not so hot that you murder it.
Use a thermometer if you have one. If you don’t, aim for warm bathwater temperature on your wrist. Too cold and the yeast just sits there doing nothing. Too hot and you’ve got dead yeast and zero rise. Neither scenario is fun to discover after you’ve already added the flour.
Active Dry Yeast
One packet of active dry yeast, that’s 2¼ teaspoons or ¼ ounce, handles this entire batch. Active dry yeast needs to be proofed first, meaning it sits in the warm water until it gets foamy before you touch any flour.
If you don’t see a nice foamy head after 10 minutes, stop everything. Your yeast is dead. Starting over now saves you from the much more frustrating realization later when your bagels come out like hockey pucks. Instant yeast works as a direct swap and skips the proofing step, but active dry gives you that visual confirmation that everything’s alive and working.
Brown Sugar (or Barley Malt Syrup)
Traditional bagel recipes call for barley malt syrup, one tablespoon in the dough and three tablespoons in the boiling water. If you can find it at a specialty store or online, grab it. It adds a deeper, malty flavor that brown sugar can’t fully match.
That said, brown sugar works great and it’s what most people will realistically use. Granulated sugar, agave, or maple syrup all function in a pinch too. The main job here is feeding the yeast and adding a touch of flavor. Just don’t skip the sweetener entirely.
Bread Flour
This is non-negotiable. All-purpose flour has lower protein content, which means less gluten development and a softer, more cake-like crumb. That’s fine for muffins. It’s terrible for bagels.
Bagels need chew, and that chew comes from the high-protein structure you only get from bread flour. Use 4½ cups or 540 grams, and measure by weight if you can. A kitchen scale removes the guesswork since flour compacts differently depending on how you scoop it and how it’s stored.
Salt
Two teaspoons of salt goes into the flour. It’s easy to forget (John himself forgets it in the video, so you’re in good company), but skipping salt gives you flat, flavorless bagels. Nobody wants that.
Salt controls fermentation, strengthens gluten structure, and makes everything taste like actual food. Add it with the flour, not directly into the yeast-water mixture. High concentrations of salt can slow yeast activity, and your yeast is busy doing important work right now.
Baking Soda (for the Boiling Water)
This is what makes bagels taste like bagels. Adding baking soda to the boiling water creates an alkaline environment that triggers a Maillard reaction on the outside of the dough. You get a deeper golden-brown crust, a slightly chewy exterior, and that characteristic bagel flavor you can’t get any other way.
It’s the same principle behind soft pretzels. If you skip this step, you’ll end up with boiled bread rolls instead of bagels. Not the same thing. Not even close.
Everything Bagel Seasoning
The classic everything blend includes sesame seeds, poppy seeds, dried minced garlic, dried minced onion, and flaked sea salt. You can buy pre-mixed everything bagel seasoning at most grocery stores, or combine those five ingredients in roughly equal proportions yourself.
The key timing detail here is that you apply the seasoning immediately after the bagels come out of the boiling water, while the surface is still wet. That moisture acts as natural glue. Wait too long and nothing sticks, especially the chunkier stuff like dried garlic.
How to Make Everything Bagels (Step by Step)
Step 1: Proof the Yeast
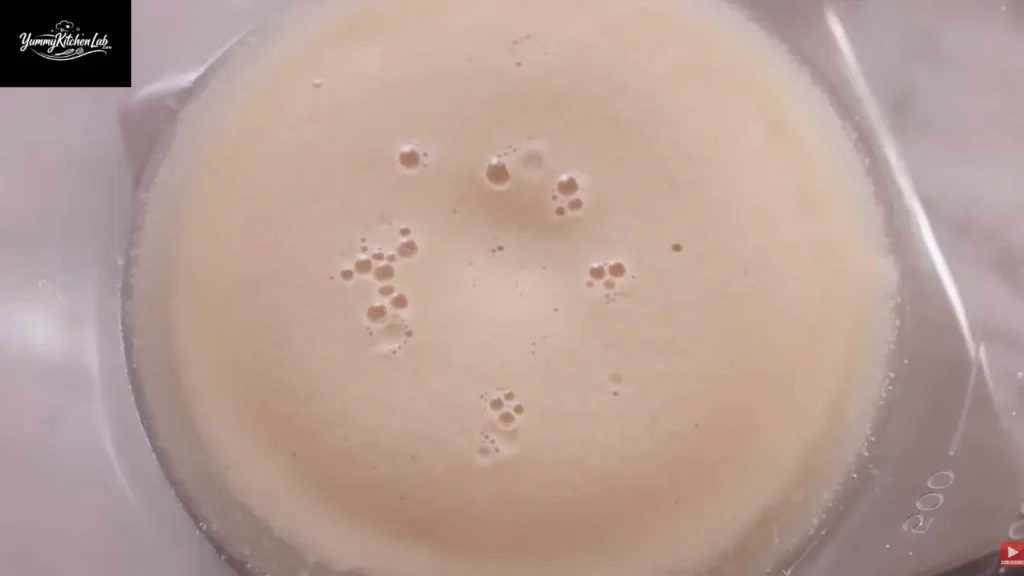
Add warm water (100°F to 110°F), one packet of active dry yeast, and one tablespoon of brown sugar to the bowl of your stand mixer. Give it a quick stir and then leave it completely alone for 10 minutes.
You’re looking for a thick, foamy head to form across the surface. That foam is your confirmation that the yeast is alive and ready to work. No foam after 10 minutes means your water was too hot, your yeast expired, or both. Either way, dump it and start fresh. Do not proceed with dead yeast hoping for a miracle.
Step 2: Add the Flour and Mix the Dough
Add 4½ cups (540 grams) of bread flour and 2 teaspoons of salt to the bowl. Before you attach the dough hook, stir the mixture by hand with a spatula or wooden spoon until you get a rough, shaggy mass. This tiny step saves you several minutes of mixer time and keeps flour from launching itself all over your kitchen.
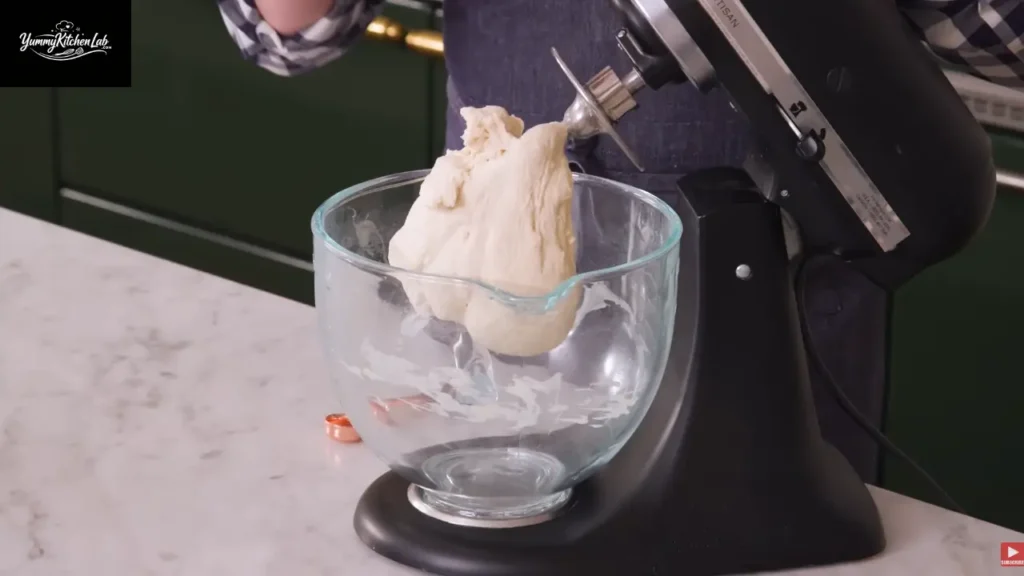
Attach the dough hook and mix on low speed (speed 2) for 10 to 15 minutes. If you’re going the hand-kneading route, dump the dough onto an unfloured counter and knead for the same amount of time.

Step 3: Check for the Windowpane
After about 8 to 10 minutes of mixing, the dough should look smooth, elastic, and pulling away from the sides of the bowl. Here’s how you confirm it’s actually ready.
Tear off a small piece and stretch it slowly between your fingers. If you can stretch it thin enough that light passes through without it tearing, congratulations. You’ve passed the windowpane test and your gluten is fully developed. If it tears immediately, keep mixing for another few minutes and test again.
Step 4: First Rise
Lightly oil a clean bowl, place the dough inside, and turn it to coat all sides. Cover with a clean kitchen towel or plastic wrap and set it somewhere warm for about one hour. The dough should roughly double in size.
If your kitchen runs cold, a slightly warm oven works great (turn it off, just leave the light on). Don’t rush this step. The rise develops both flavor and structure, and cutting it short gives you dense, bland bagels.
Step 5: Divide and Shape
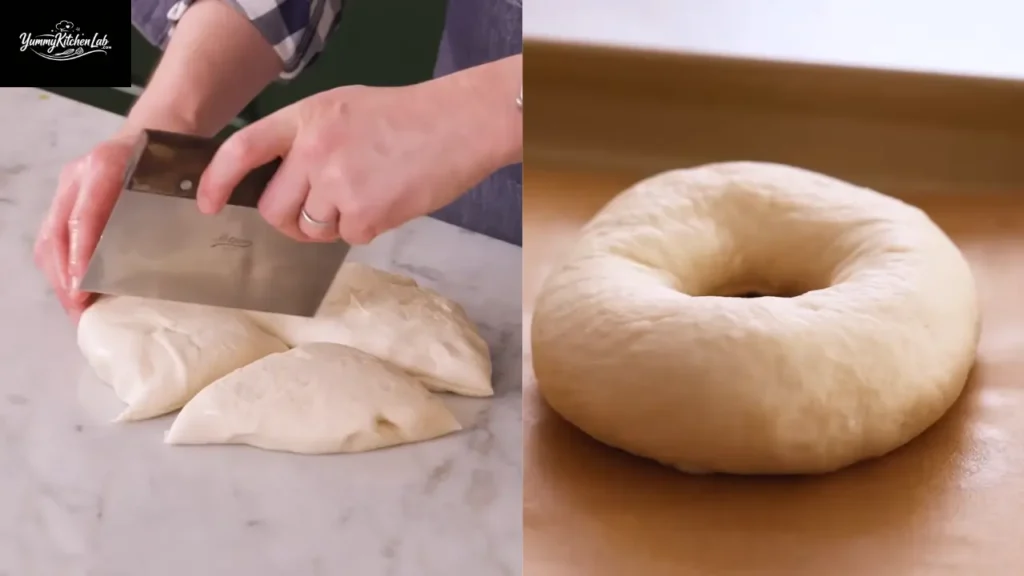
Punch the risen dough down to deflate it, then turn it out onto a clean, unfloured counter. Yes, unfloured. You actually need the friction here. Divide it into 8 equal pieces for large bagels, or 12 for smaller ones.
Shape each piece into a tight ball by stretching the edges underneath and rolling it on the counter. Flatten each ball slightly, then press your thumb straight through the center to create a hole. Pick the ring up and stretch it gently until the hole is about two inches wide.
Here’s the thing: that hole will shrink. A lot. During the second rise, the boil, and the bake, it closes up significantly. So make it bigger than you think it needs to be. Seriously. What looks comically large on raw dough looks perfect on a finished bagel.
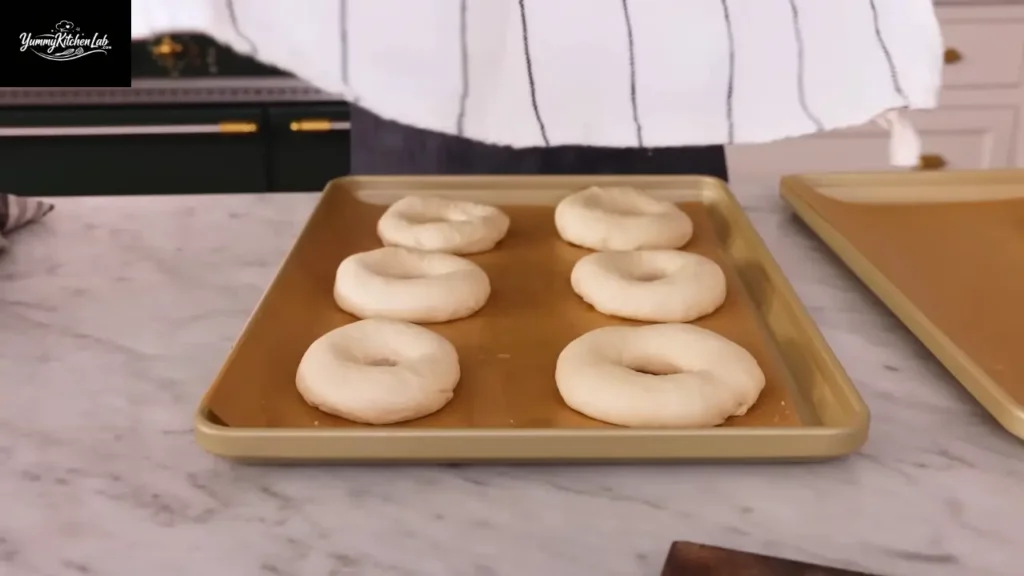
Step 6: Second Rise
Place the shaped bagels on parchment-lined, lightly greased baking sheets, leaving about two inches between each one. Cover loosely and let them rest for 20 minutes. They’ll puff up noticeably during this time.
While they rise, preheat your oven to 425°F and bring three quarts of water to a boil in a large pot. Multitasking at its finest.
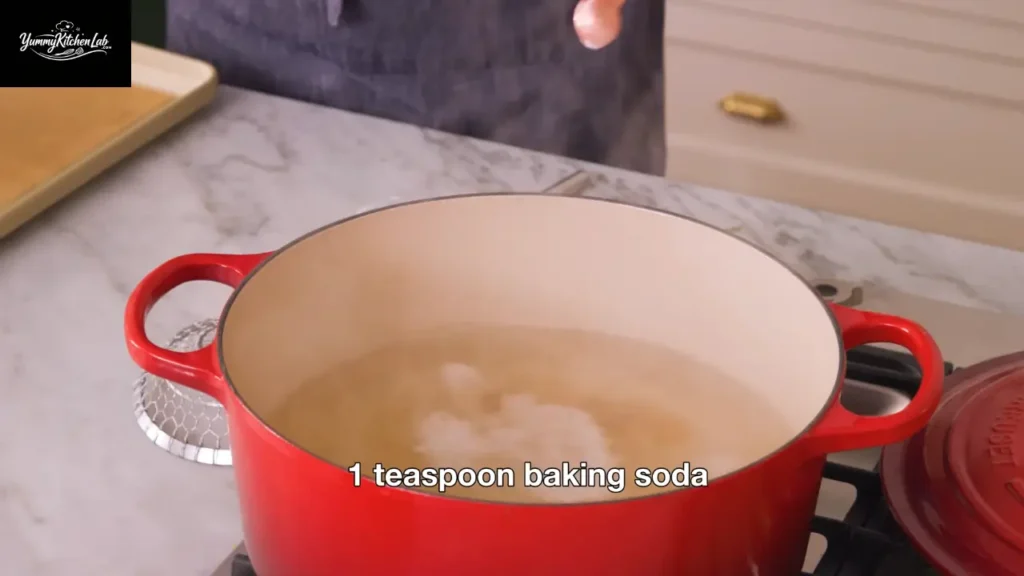
Step 7: Prepare the Boiling Water
Once the water hits a boil, reduce the heat to a simmer and add three tablespoons of brown sugar and one tablespoon of baking soda. Stir carefully because the baking soda will cause the water to bubble up aggressively for a moment. Don’t panic. It settles down.
This alkaline bath is what gives bagels their signature crust and color. Keep the water at a steady simmer (not a rolling boil) throughout the entire boiling process.
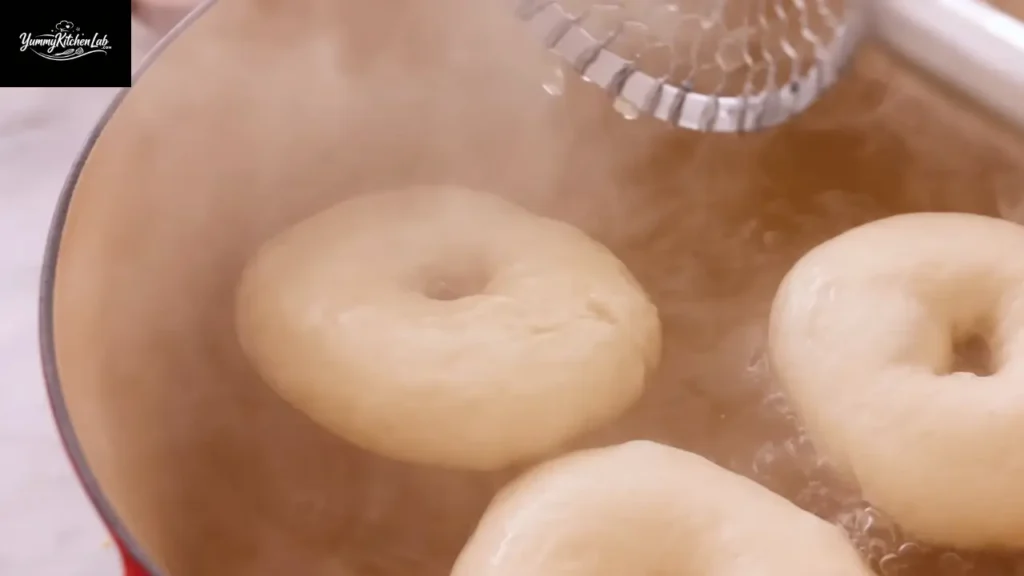
Step 8: Boil the Bagels
Carefully lower the bagels into the simmering water, two or three at a time depending on your pot size. Don’t crowd them. Boil for one minute on each side, using a spider strainer or slotted spoon to flip them gently.
They’ll look soft and slightly wrinkled coming out, and that’s completely normal. Don’t worry about it. The oven finishes the transformation.
Step 9: Top and Bake
Transfer the boiled bagels to the prepared baking sheets, pretty side up. While the surface is still wet, immediately sprinkle with everything bagel seasoning, poppy seeds, onion flakes, or whatever topping you prefer. Speed matters here because that wet surface is your only window for the toppings to stick properly.
Place in the 425°F oven for 15 minutes. Pull them out, flip them over, and bake for another 5 to 10 minutes until both sides are deep golden brown. That flip is clutch. Skip it and you’ll have a gorgeous top with a pale, sad bottom.
Pro Tips for Perfect Homemade Everything Bagels
The difference between decent bagels and outstanding ones comes down to a handful of details most recipes don’t bother mentioning. These actually matter.
- Check your yeast before committing. If that packet has been chilling in your pantry for over a year, test it first. Foam in the proofing bowl means go. No foam means toss it and buy fresh. Finding out after you’ve added all the flour is a special kind of frustrating.
- Don’t flour your counter when shaping. A bare counter creates the friction you need to roll and tighten the dough. Flour makes everything slide around and your dough won’t hold its tension. If things stick to your hands, use a tiny amount of oil on your palms instead.
- Make the holes bigger than you think. A two-inch hole looks massive on raw dough. After the second rise, the boil, and the bake, that same hole shrinks to less than an inch. Always err on the side of too big.
- Keep the water at a simmer, not a rolling boil. A hard boil bounces the bagels around and distorts their shape. A steady simmer gives you the same alkaline effect with way more control.
- Flip them during baking. This is the most commonly skipped step and it genuinely matters. Flipping midway through ensures both sides brown evenly. Nobody wants a golden top with a pale, anemic bottom.
- Add toppings immediately after boiling. The wet surface acts as natural glue. Wait too long and nothing sticks, especially the chunkier toppings like dried garlic and salt flakes.
- Use a kitchen scale. Measuring flour by volume is wildly inconsistent. A packed cup versus a sifted cup can differ by 20 to 30 grams. Across 4½ cups, that adds up fast and can push your dough from perfect to brick-like.
- Store cooled bagels at room temperature, not in the fridge. The fridge dries bread out faster than leaving it on the counter. A sealed bag at room temp keeps them fresh for two days. For longer storage, slice and freeze them, then toast straight from frozen.
Serving Ideas for Everything Bagels
Everything bagels work with a lot of toppings, but a few combinations truly shine with that garlic-onion-sesame crust.
The Classic Lox Spread
This is the pairing that made everything bagels legendary. Layer cream cheese generously, then add thinly sliced smoked salmon, capers, red onion, and a few slices of ripe tomato. The saltiness of the lox, the tang of the cream cheese, and the savory crust of the bagel all work in perfect balance. If you’ve never tried it, you’re genuinely missing out.
Weekend Brunch Bagel Sandwich
Build a sandwich with a fried or scrambled egg, sharp cheddar, and crispy bacon (or turkey if that’s your thing). The everything seasoning pairs ridiculously well with eggs because the garlic and onion complement rather than compete. This is weekend brunch done right.
Simple Cream Cheese and Cucumber
Sometimes the simplest version wins. Whipped cream cheese, thin-sliced cucumber, a pinch of flaky salt, and fresh dill. It takes two minutes and it’s genuinely more satisfying than most complicated topping combinations. Don’t overthink it.
Avocado and Everything Bagel
Mashed avocado with lemon, red chili flakes, and a soft-poached egg works better on everything bagels than on toast because the structure actually holds up. Plus, the existing seasoning on the crust means you barely need to add anything else.
For presentation, try slicing the bagel parallel rather than through the middle if you’re serving it open-faced. It gives you a larger surface for toppings and shows off that beautiful interior crumb. A wooden board or slate tile makes a clean, simple serving surface that lets the bagel do all the talking.
Frequently Asked Questions
Can I make these bagels without a stand mixer?
Absolutely. Dump the shaggy dough onto an unfloured counter and knead by hand for 10 to 15 minutes. It’s more of a workout, but you’ll get the exact same result. The dough is ready when it’s smooth, elastic, and passes the windowpane test.
What if I can’t find barley malt syrup?
Brown sugar is a solid substitute. It adds sweetness and a mild depth that gets reasonably close to malt’s flavor profile. Granulated sugar, agave, or maple syrup all function in the recipe too, though each one tastes slightly different. The important thing is using some type of sweetener in both the dough and the boiling water.
Why did my bagels come out dense?
Dense bagels usually point to one of three culprits: under-proofed dough, dead yeast, or not enough kneading. Make sure your yeast foams fully during proofing. Knead until the dough passes the windowpane test. Give the shaped bagels their full 20-minute rest before boiling. Rushing or skipping any of these steps leads to a tight, heavy crumb that nobody enjoys.
Can I freeze homemade bagels?
Yes, and honestly this is one of the best ways to keep a batch fresh. Slice them before freezing and store in a sealed freezer bag for up to three months. Toast directly from frozen with no need to thaw. Bagels stale pretty quickly at room temperature after day two, so freezing is your friend here.
Can I use different toppings?
100%. Poppy seed, sesame, onion, plain, and jalapeño-cheddar are all popular variations. The shaping, boiling, and baking process stays exactly the same regardless of what you put on top. Go wild.
Everything Bagel Recipe
Ingredients
- 1½ cups (360ml) warm water, 100°F to 110°F
- 1 packet (2¼ tsp) active dry yeast
- 1 tbsp brown sugar (for dough)
- 4½ cups (540g) bread flour
- 2 tsp salt
- 3 tbsp brown sugar (for boiling water)
- 1 tbsp baking soda (for boiling water)
- Everything bagel seasoning, to top
Instructions
- Combine warm water, yeast, and 1 tbsp brown sugar. Let sit 10 minutes until foamy.
- Add flour and salt. Stir by hand to combine, then knead with dough hook 10 to 15 minutes until smooth and elastic.
- Place in oiled bowl, cover, and rise 1 hour until doubled.
- Punch down dough. Divide into 8 pieces. Shape into balls, flatten, poke a hole, and stretch to 2 inches.
- Place on greased parchment-lined sheets. Rest 20 minutes. Preheat oven to 425°F.
- Bring 3 quarts of water to a boil. Reduce to simmer. Add 3 tbsp brown sugar and 1 tbsp baking soda.
- Boil bagels 1 minute per side. Remove and top immediately with seasoning.
- Bake 15 minutes. Flip. Bake another 5 to 10 minutes until deep golden brown.
Video
Notes
- Barley malt syrup can replace brown sugar in both the dough and boiling water for a more traditional flavor.
- Freeze sliced bagels for up to 3 months and toast directly from frozen.
- Make the hole noticeably larger than you think you need. It shrinks dramatically during the rise and bake.
Final Thoughts
Here’s what it comes down to. Great bagels need five things: proper bread flour, alive yeast, a baking soda boil, high heat, and a mid-bake flip. Skip any one of those and you’ll notice the difference. Nail all five and you’ll produce bagels that genuinely embarrass whatever your local grocery store is selling in plastic bags.
The whole process takes about two hours from start to finish, and most of that is just waiting for dough to rise and bagels to bake. The actual hands-on work is surprisingly manageable, even on a lazy Sunday morning.
Make a batch of eight, eat two warm out of the oven (because you absolutely will), and freeze the rest sliced and ready for weekday toasting. Future you will be very, very grateful.